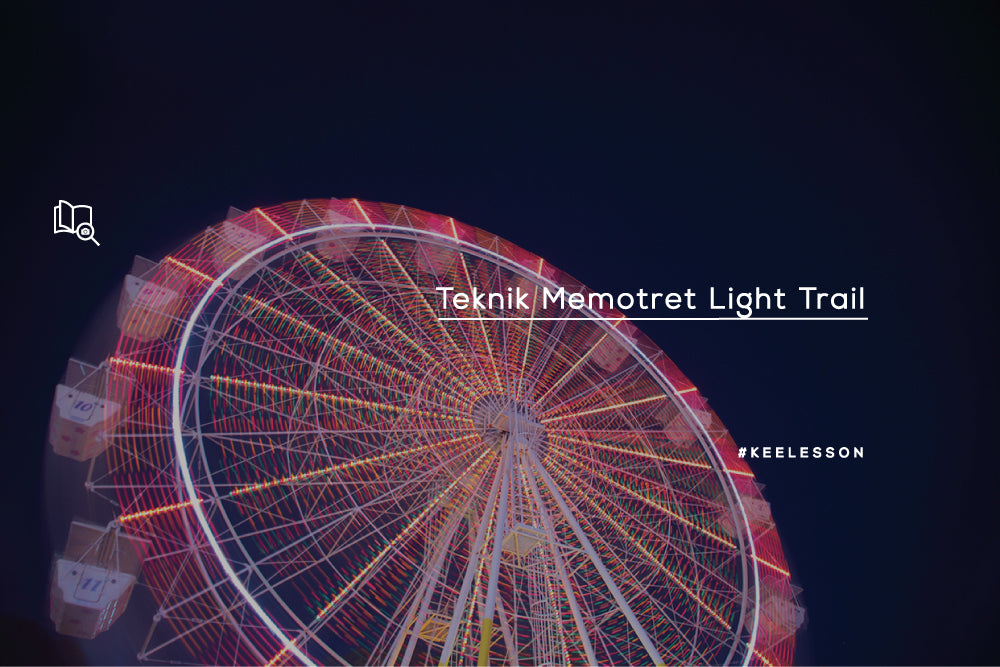
You can use photographing light trails or what is known as light trails to experiment to get interesting results. Basically, a light trail is shooting with a slow shutter speed of moving light so that the path of the light is recorded in the photo because the light will not move in exactly the same place, creating a colorful streak of light.

The equipment you need is a tripod to keep the camera stable. You can shoot in BULB mode and use an ND filter to help extend the exposure time because the longer the exposure time, the more light trails are recorded in the photo. For the type of lens used, it is recommended to use a wide lens.
Some things you need to pay attention to:
1. Shutter speed
You can use shutter speed priority mode. The shutter used can start from 20 seconds and above or you can use bulb mode so you can stop according to what you want.
2. ISO
For ISO settings, it is recommended to use a low ISO, 100, to reduce noise in the photos.
3. Use a low angle
Usually many photographers use a high angle to take light trail photos to get a wider view. But you can try to use a low angle to produce brighter and more varied light trails. Apart from that, you can create a composition by providing a foreground so that depth appears in the composition of your photo.

4. Take photos several times in the same place
You can take several photos in the exact same place without moving the camera. After that, you can combine them in Photoshop to combine the light trails from each photo.
5. Use flash
For additional equipment you can use flash. You can take objects at busy road intersections, or against the backdrop of fireworks for example.