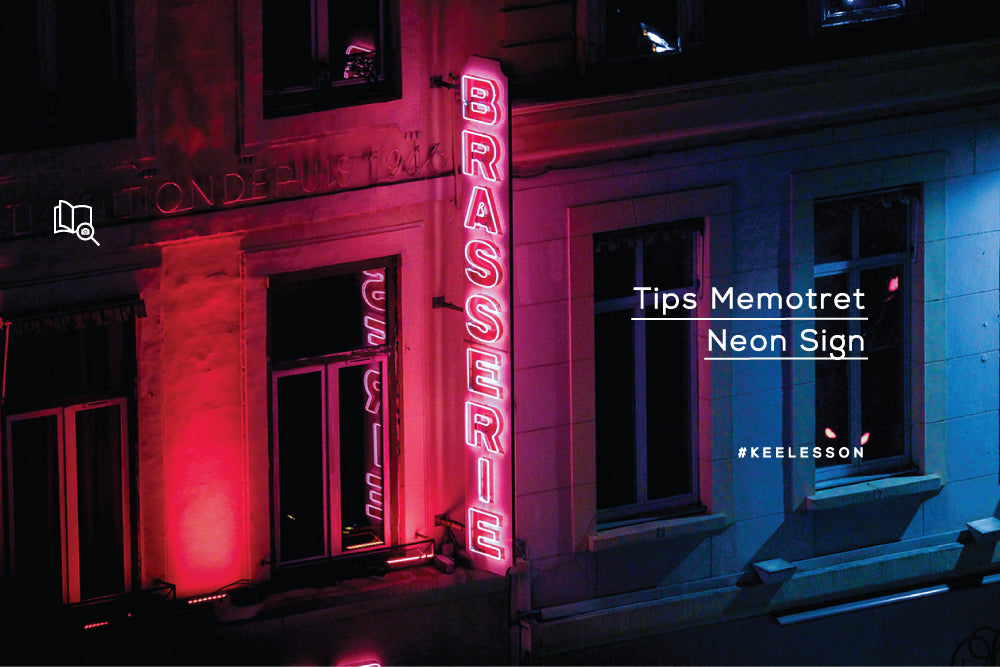
Tips for Photographing Neon Signs
Share
Maybe some people don't want to take photos at night with the addition of neon signs because it's difficult. But don't worry KEE friends, let's discuss it so we both know...
1. Time
You really need to consider the right time to take photos. If you just want to take photos of neon signs, you can take them any time. But if you want to get photos of neon signs and the surrounding conditions, you really need to manage your time. It is recommended to take photos 15 minutes before sunrise or 10 minutes after sunset , commonly known as blue hour. Neon lights can be seen clearly because they are quite dark but also bright enough to show the surrounding environment.

Photo by : Brandon Woelfel
2. Camera stabilization
Use a tripod to help you take photos so that they don't shake and your photos will be blurry. Because usually photos at night require a slow shutter speed so vibrations are prone to occur if you only hold the camera using your hands.
3. Camera settings
Use a low ISO, 100 and set the white balance according to the color of the light from the fluorescent lamp. The daylight setting makes the photo warmer, tungsten makes the sky bluer.

Tips for photographing neon signs:
- Approach the neon sign as close as possible
- Use the largest aperture, for example 2.8. Choose as low as possible on your camera.
- Use a slow shutter speed, under 1/100 second.
- It is strictly forbidden to use flash because it will destroy the overall color and light.
- Edit photos to add drama
