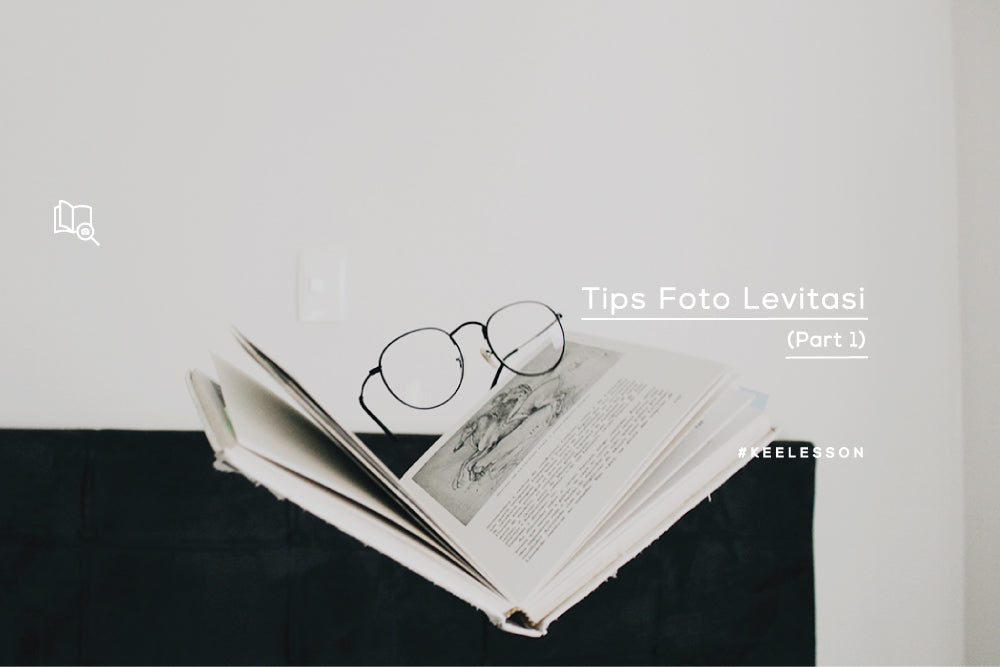
Are you curious about how to make a levitation photo like the one you shared yesterday? Let's take a look at the tips and tricks...
1. Use a wide lens
When photographing, James uses a lens with a focal length of 35mm or lower to provide depth to the photos and models. He once tried using an 85mm lens, but the resulting photos looked like the subjects were stick-ons. This is caused by compression in the focal length of the lens.
2. The model is connected to the scene physically
To avoid the model looking like a stick-on, you can direct the model to make contact with the environment. If the model has shadows, reflections, or for example puts her hands or drops her hair in the water, it will make the image look more real.

Photo by : Christopher James
3. Use a low angle
Using a low angle will show a greater distance between the subject and the ground. You can still take it from a higher angle as long as it still shows the model floating above the water.
4. Body weight
To get natural photo results, you definitely need to pay attention to the position of your subject, whether when the chair is removed it will look natural. If the model looks stiff, shaking, and looks like she is holding her weight, then your photo will look unnatural. You can use the heaviest part of your body as support, for example lying down or leaning on your back. Whichever method you use, the key is that your body curve looks normal and natural when floating.

