Get to know Blue Hour
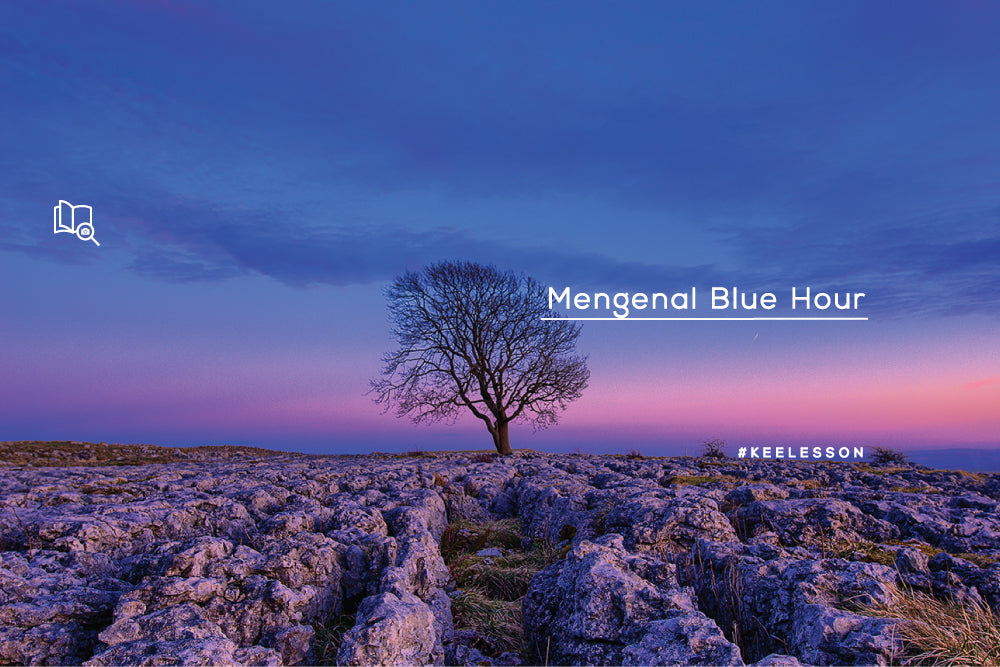
Blue hour is the time when the sky is blue with a little orange light. You can enjoy this phenomenon twice a day, in the morning before sunrise and in the evening after sunset. This blue hour lasts very briefly, only around 10-30 minutes. This duration also varies, influenced by the weather and geographical location of a place.

You can combine the blue hour with objects in the foreground. You can also photograph blue hour with a multi-storey building in front. Wow, what a great result, KEE friends!

Some tips for blue hour photos:
1. Use shutter priority mode
By using shutter priority mode, the camera will adjust the aperture and ISO automatically, making it easier for you. You just need to set the shutter speed. Use a slow shutter speed because the light conditions tend to be dark so you can get the color you want. You can use a shutter speed of 1s-6s.

Photo by : Jeff Wallace
2. Use remote / shutter release
To reduce the causes of blurry photos, you can use the help of a shutter release. Or you can also use the self timer feature on your camera.
3. Tripods
You really have to bring this item when photographing blue hour. If you just hold it with your hand it will cause the camera to shake and the image will be blurry.
4. Shooting in RAW format
With RAW format you get better photo quality and you can edit more easily.
5. Insert the lights into the frame
Are there street or building lights? Don't worry KEE friends, you can also include these objects in your photos, they can also give a dramatic effect and become an attraction to your photos. One thing you need to remember is not to get too close to the lights to avoid flares on the lens.
